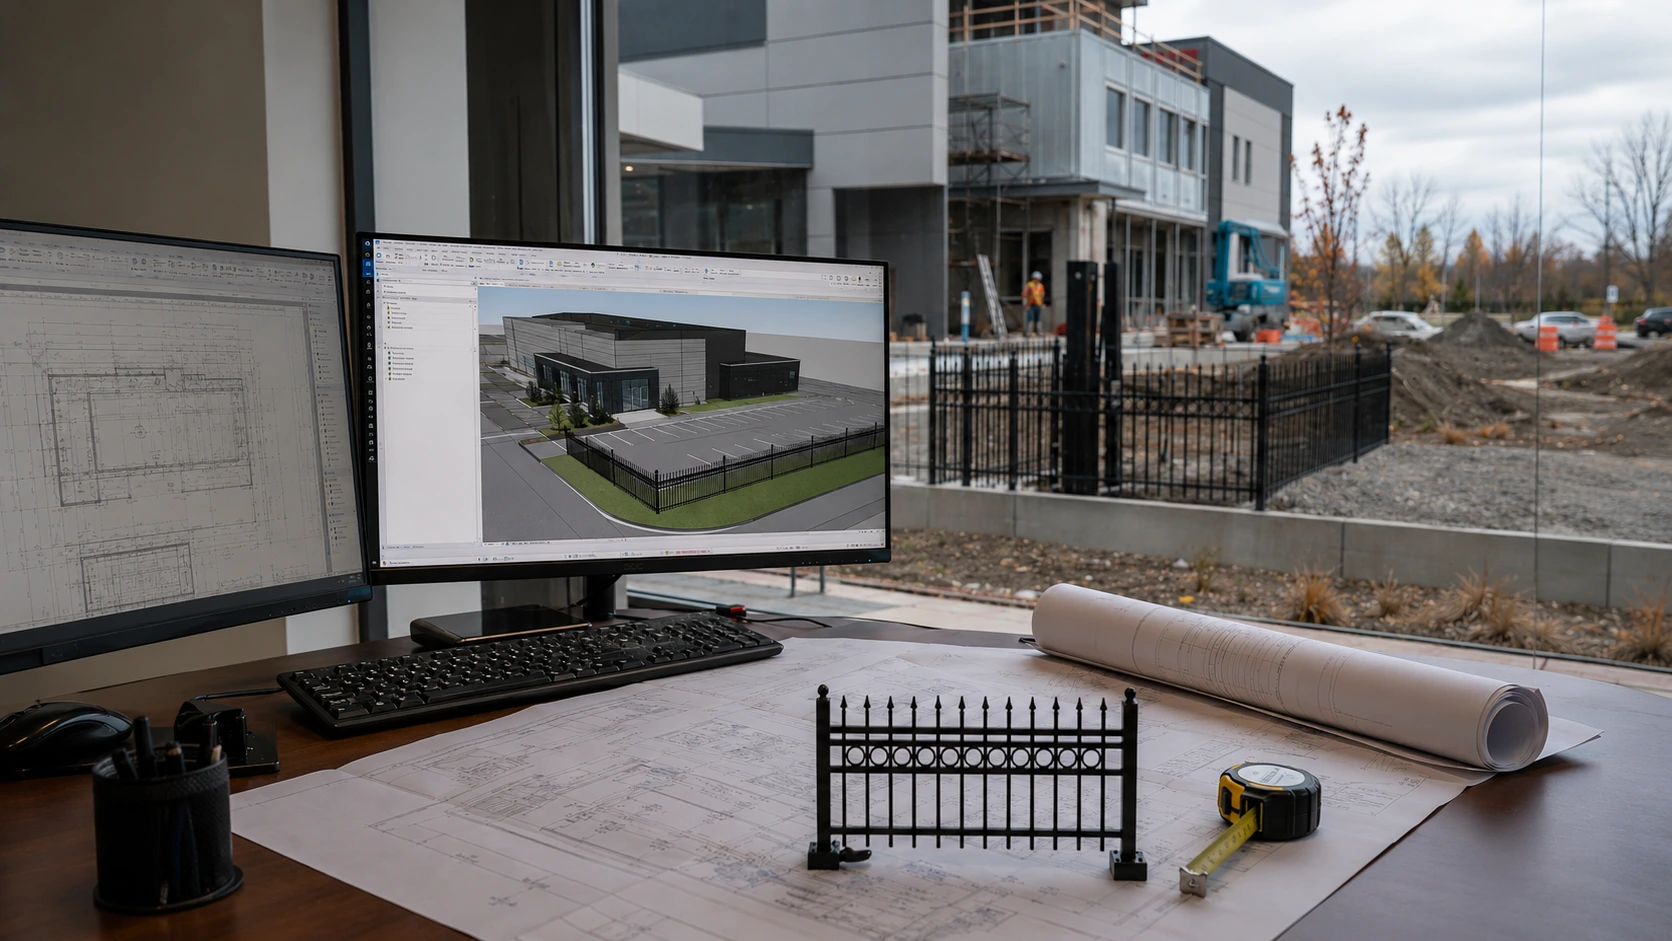
If you have ever been three weeks from a construction document deadline and suddenly realized that nobody on your team has modeled the perimeter fencing yet, you are not alone. It happens on commercial projects all the time. The structural model is tight, the MEP coordination is humming along, and then someone on the site plan asks, "So, where is the fence?"
Fencing tends to fall into a grey area in BIM workflows. It is not quite a building element and not quite pure landscape, which means it often gets ignored until the last possible moment. But on Canadian commercial and institutional projects, where perimeter security, municipal setback bylaws, and harsh freeze-thaw conditions all intersect, treating fencing as an afterthought can lead to coordination headaches, specification gaps, and costly change orders during construction.
This guide walks through a practical workflow for modelling and specifying ornamental fence systems in Revit, from setting up the right family objects to writing spec language that links cleanly to CSI divisions.
Why Fencing Deserves Proper BIM Treatment
On a typical commercial site in Ontario or British Columbia, fencing interfaces with grading, landscaping, drainage swales, retaining walls, parking lot lighting, and site access control. That is a lot of coordination. When the fence only exists as a 2D line on a site plan, you lose the ability to run clash detection against light poles, catch conflicts with underground utilities, or generate accurate quantity takeoffs for the contractor.
There is also the question of code compliance. Canadian municipalities often have fence height restrictions that vary by zone (residential adjacency versus highway frontage, for example), and pool enclosure requirements under the Ontario Building Code or equivalent provincial regulations add another layer. Modelling the fence in 3D, even at a basic level of development, lets you verify these clearances visually rather than relying on someone to measure off a flat drawing.
Setting Up Fence Family Objects in Revit
Revit does not ship with a robust library of ornamental fence families. Most firms end up building their own or sourcing them from BIM object repositories. Either way, there are a few things that matter when you are setting up a fence family for commercial work.
First, build the family as a line-based component. This allows you to stretch it along a property boundary or fence alignment path without recreating geometry for every segment. Your family should include parametric controls for overall panel height, picket spacing, rail dimensions, and post size, because these all vary depending on the fence series you are specifying.
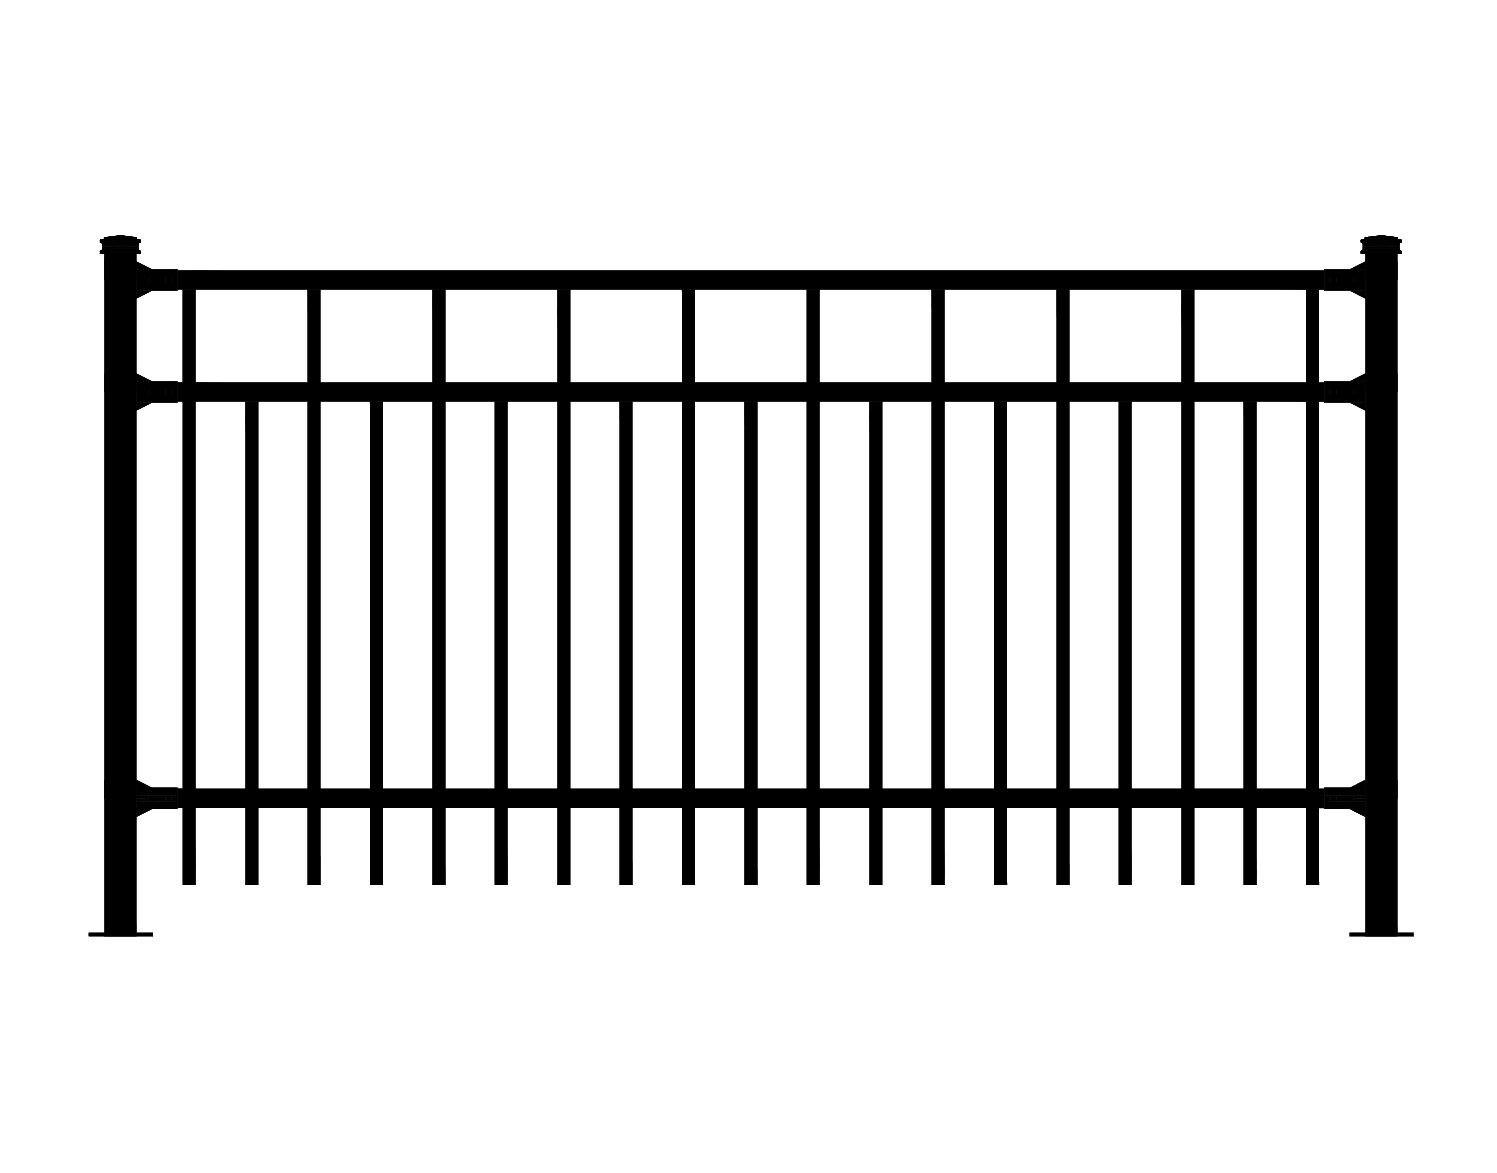
For instance, if you are specifying the Oxford™ Series from Medallion Fence for an institutional project, your Revit family would need to reflect 1-1/2" x 1-1/2" rail profiles and 3/4" or 1" square pickets, with a minimum 2-1/2" x 2-1/2" post. These are not trivial details. Getting the post size wrong in your model can throw off your footing layout, which in turn affects your civil coordination.
Second, include shared parameters for material type (steel versus aluminum), finish system, and manufacturer. This metadata travels with the element through schedules and exports, which is exactly what your specification writer needs downstream.
Understanding LOD Levels for Fencing on Site Drawings
One of the questions that comes up constantly in Canadian BIM execution plans, and that very few people answer well, is this: what Level of Development does perimeter fencing actually need to be at each design phase?
Here is a practical breakdown for ornamental metal fencing on commercial projects:
At LOD 100
At LOD 100, your fence is essentially a placeholder. Think of it as a single line on a massing model with a text note that says "ornamental fence, height TBD." You would use this during early site analysis or feasibility studies. No geometry beyond basic location.
At LOD 200
At LOD 200, the fence takes on approximate form. You have a generic 3D family showing approximate height and post spacing. It communicates design intent, helps with sight line studies and basic grading coordination, but nobody should be pulling quantities from it.
At LOD 300
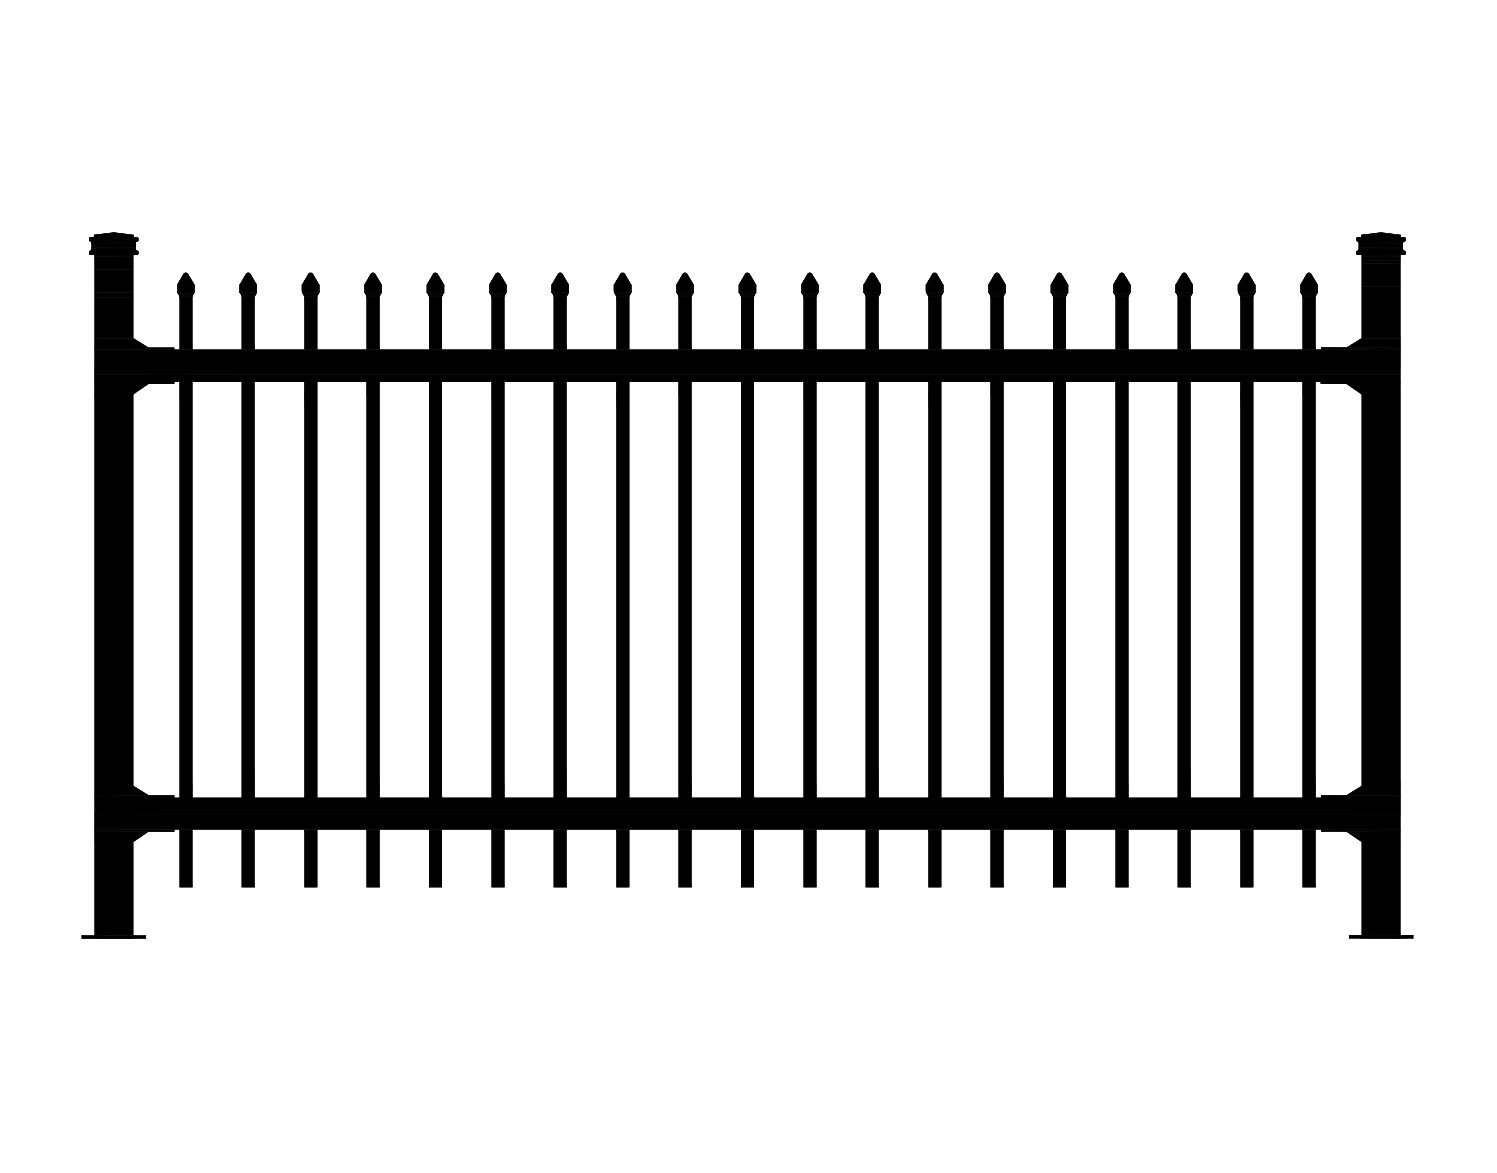
At LOD 300, the family represents a specific product with accurate dimensions, picket profiles, and rail sizes. This is where your model should reference actual manufacturer data. If you are using the Preston™ Series for a commercial perimeter, your LOD 300 family would accurately show the heavier rail and post profiles that differentiate it from a residential-grade product.
At LOD 350 and Beyond
At LOD 350 and beyond, you are adding interface geometry, showing how the fence connects to concrete piers, adjacent walls, gate hardware, and access control devices. This level is typically only needed on projects where the fence contractor is doing full shop drawing coordination through the model.
Linking to CSI Spec Sections: Getting the Language Right
Under the CSI MasterFormat system, fencing falls under Division 32 (Exterior Improvements), specifically Section 32 31 00 (Fences and Gates). For ornamental metal fencing, you would typically drill down to Section 32 31 19 (Decorative Metal Fences and Gates).
A well-written specification under 32 31 00 should be structured in three parts. Part 1 covers general requirements including references to ASTM standards, submittals, and quality assurance. Part 2 defines products, including materials, fabrication methods, finishes, and hardware. Part 3 addresses execution, covering installation, post embedment, concrete footings, and alignment tolerances.
Here is where Canadian projects get tricky, and where most generic spec templates fall short. Footing depths need to account for local frost penetration. In southern Ontario, you are looking at frost depths around 1.2 metres. In northern Alberta or Manitoba, that can exceed 2 metres. Your Part 3 language needs to specify that post embedment extends below the frost line for the project location, not just reference a generic depth.
When writing the Part 2 product section, it pays to reference manufacturer-specific data rather than relying on performance specs alone. Medallion Fence, for example, provides DWG files and PDF detail drawings for each fence style across their commercial lines. These can be referenced directly in your submittal requirements, which streamlines the shop drawing review process considerably.
The Canadian Questions Nobody Talks About
There are a handful of project-specific issues that come up on Canadian commercial sites over and over, yet rarely get covered in standard BIM or specification guides.
Racked versus stepped panels on grade changes
Racked versus stepped panels on grade changes is the first one. Canadian sites are rarely flat, especially in the Canadian Shield region or on sites with significant cut-and-fill. Your Revit family needs to handle racking (where the panel follows the slope) or stepping (where panels remain level with gaps at grade). The specification should state which approach is acceptable.
Salt exposure
Salt exposure is another. Projects near highways treated with road salt, or coastal sites in Atlantic Canada and BC, demand a corrosion protection system beyond basic powder coating. Systems like Medallion's Armour-Shield (for steel) or Alu-Tuff (for aluminum) combine galvanization, chromate conversion, and UV-stable powder coating, a layered approach that actually addresses the salt, moisture, and freeze-thaw cycling that Canadian installations face.
Gate coordination
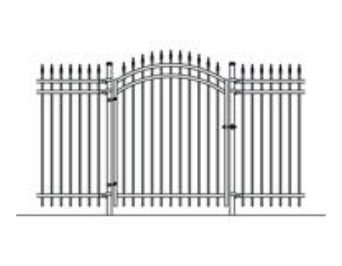
Gate coordination is the third. On commercial projects with slide gates or automated swing gates, the gate operator, power supply, and access control need to be coordinated early. These elements often fall across multiple specification divisions (32 31 00 for the gate itself, 28 13 00 for access control, 26 00 00 for power). Modelling the gate assembly in Revit at LOD 300 or above helps catch spatial conflicts before they become field problems.
Bringing It All Together
The workflow boils down to this: start early, model with intent, and write specs that reflect what the model shows.
Build your Revit fence families with parametric flexibility so they can represent real products accurately. Assign LOD levels that match your BIM execution plan milestones. Write your 32 31 00 specification language to reference actual manufacturer data, including material grades, finish systems, and installation details that account for Canadian site conditions.
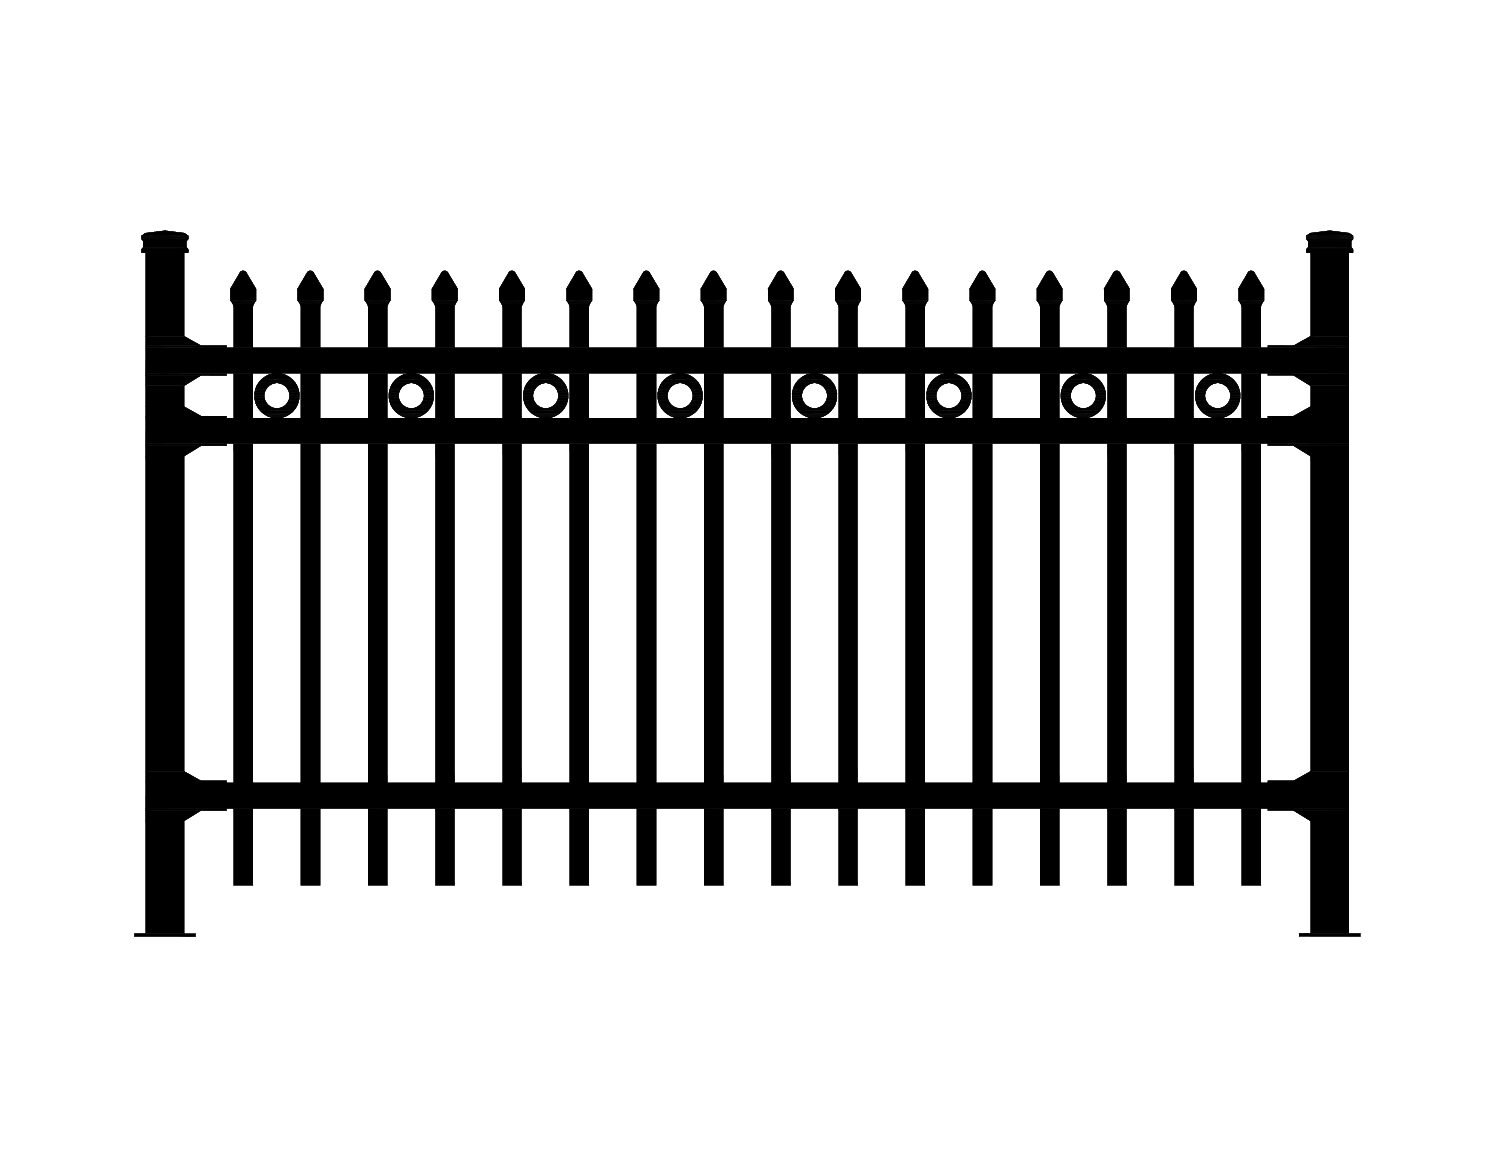
If you are working on a commercial or institutional project and need manufacturer data to build your Revit families or write your specs, Medallion Fence provides DWG drawings and product data sheets for their full range of commercial fence series, including the Oxford™, Preston™, and Hawkstone™ lines.
Fencing is one of those project elements that seems simple until it is not. Giving it the same BIM discipline you apply to the rest of your building makes every phase smoother, from design coordination through construction administration. And on Canadian projects especially, where weather, code, and site conditions all add complexity, that discipline pays for itself.
Product Reference